![]()
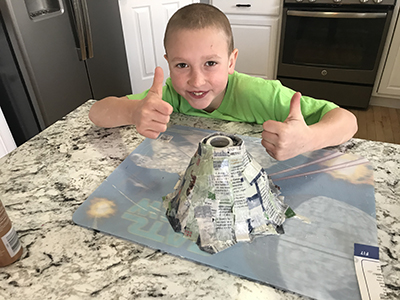
Today we are excited to share a guest blog from C.W. Avery Family YMCA Youth and Family Director Shannon Stawikowski as a part of our Keeping Kids Connected Initiative! Shannon has been kind enough to provide a step-by-step breakdown of a fun arts and crafts activity that was sent to families in the Y’s Pint-Size Pupils program this week. Shannon and her son Jaxon had a great time putting together a paper mâché volcano!
What you’ll need:
-large piece of cardboard
-small, empty container, such as a spice container
-Newspaper
-1/2 cup Flour
-1 cup Water
– Paint for your volcano creation
-Items to decorate, such as green pipe cleaners, green pom poms, beads, other green decorations, toys, rocks, etc.
-Hot glue gun or Tacky glue (always have an adult’s help when using a hot glue gun)
-Tape
-2 TBSP Baking soda
-3/4 cup Vinegar
-Red food coloring
-Squeeze bottle or plastic cup
Directions:
1. Cut cardboard into two circle shapes. One circle should be the size of your volcano (ours was around 8 inches in diameter). The other circle should be slightly wider than you’d like your volcano to be. Ours was around 12 inches in diameter. You can trace something round, like a bowl, to create your shapes.
2. Glue your empty spice container into the center of your smaller cardboard circle. Next, scrunch some newspaper or other paper into balls. Tape or glue the paper around the spice container to create the shape of your volcano.
 3. Mix some paper mâché paste. Paper mâché is a paste made from flour and water. We used 1/2 cup of flour and 1 cup of water. Stir the mixture together in a bowl (some lumps of flour may remain, you can stir more as you use it) and set aside. Take your newspaper and cut or rip it into strips. Strips should be about 1 inch wide and around 6 inches long.
4. To paper mâché your volcano, dip strips of paper into the paste one at a time. Be sure you dip the entire strip in. Use your fingers to gently wipe excess paste off of the paper strip and then place the wet paper strips onto your volcano shape so that they cover the paper. Do not cover the opening of the spice container! Overlap strips as you go and layer as needed. You will want to wrap paper around the edges (at the top and bottom).
5. If anywhere on your volcano starts to look too wet, just place a dry strip of paper or two in the area to soak up the excess paste. Once the entire volcano is covered, set it onto the large cardboard circle and allow it to dry completely, at least overnight. If the paper seems too thin, or you find gaps anywhere, add another layer of paper mâché after the first has dried.
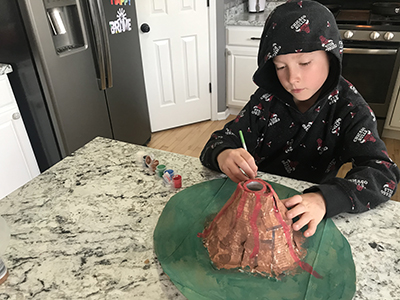
6. Once your paper mache has dried completely, use paint to decorate the volcano. Set aside until the paint is dry.
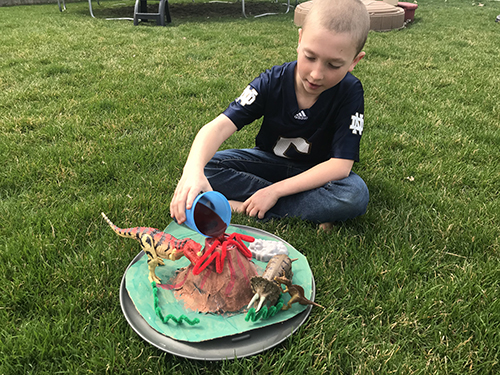
 7. Lastly, decorate your volcano! Paint some smaller bits of cardboard green and cut them into grass shapes. Bend one end of several green pipe cleaners into a spiral to create a fern. Grab small toys to create a scene. Add small green bits like pom poms and beads, if you like. Use red puffy paint to add some lava to the top of the volcano. Be creative with things you find in or around your home! Now your volcano is complete!
8. Create a volcanic eruption! (Your volcano may not survive this eruption, since it is made from paper – make sure you have played with it as much as you want before moving on to this step!). To make your volcano erupt, first add 2 teaspoons of baking soda into the spice container at the center of your volcano. Next, pour your vinegar into a squeeze bottle or plastic cup and add a few drops of red food coloring. Place your volcano onto a baking sheet or other tray with raised edges (to catch the mess) or do the experiment outside! Slowly squirt or pour vinegar into the volcano opening and watch it erupt! You can repeat the reaction as many times as you like (add more baking soda if you need to).

 We thank C.W. Avery Family YMCA Youth and Family Director Shannon Stawikowski for contributing this guest blog.
